
When you first start making espresso at home, it can feel like an overwhelming adventure. The allure of crafting your own perfect shot is exciting, but it comes with its own set of challenges. You might recall your initial attempts: you pressed down hard on the tamper, hoping that a little extra force would somehow produce a better shot. However, that kind of heavy-handed approach often leads to disappointment. Instead of a rich, smooth espresso, you end up with something bitter and over-extracted, far from the coffeehouse experience you're striving for. Explore the features and performance of this machine in our Philips 5500 LatteGo review
If this sounds familiar, don’t worry. The art of tamping isn’t about brute force—it’s about consistency, finesse, and technique. In this article, you’ll learn why tamping is critical, how hard you should tamp, and how to develop a consistent technique for perfect espresso shots every time. Dive into the details of the Philips 5400 LatteGo review
Why Tamping is Critical in Espresso Making
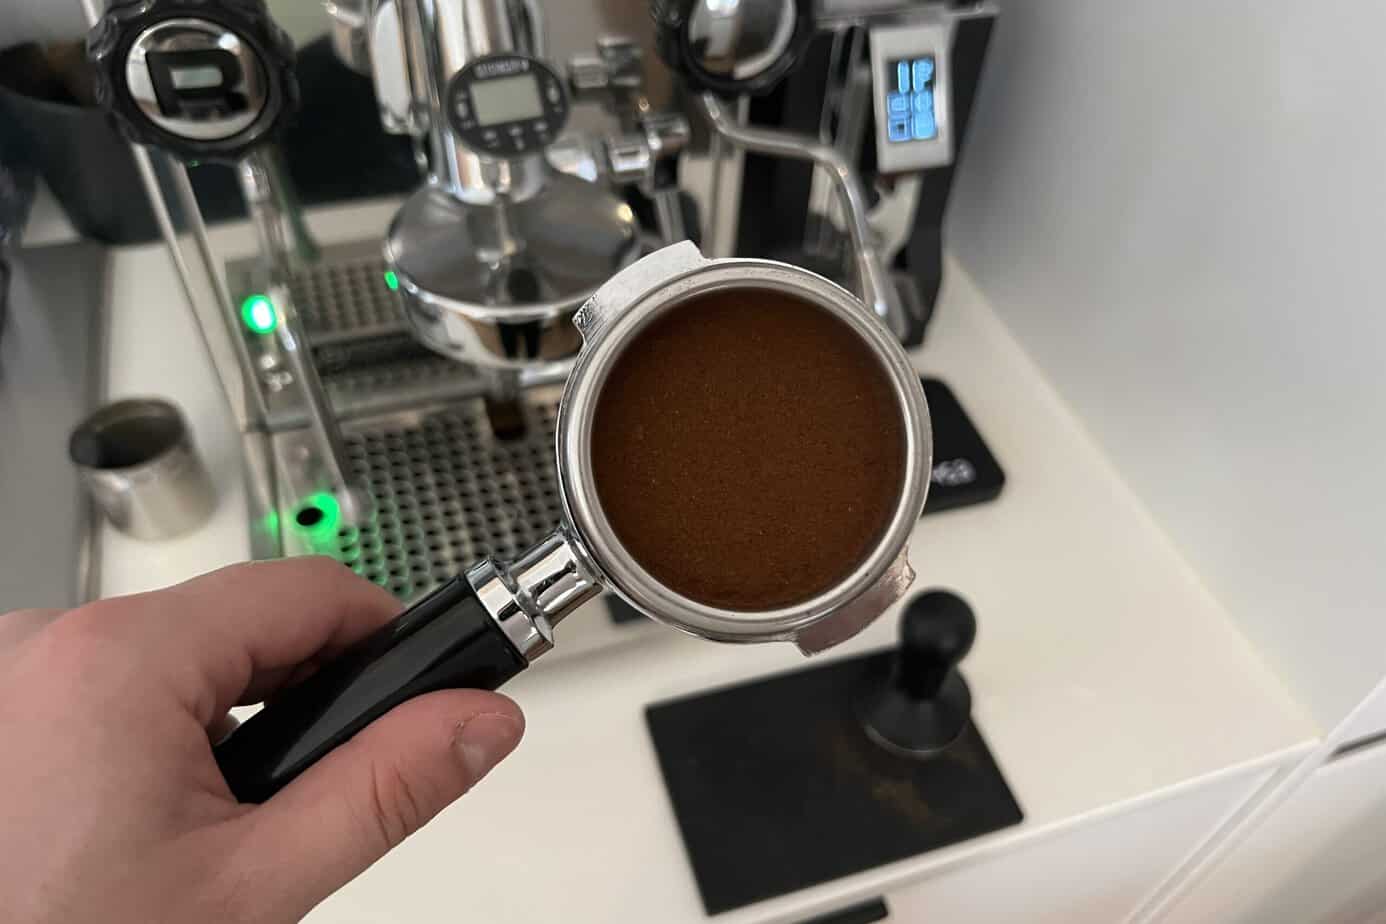
Tamping is one of the most essential steps in making espresso. The primary purpose of tamping is to compress the coffee grounds evenly in the portafilter, creating a solid, uniform puck. This process eliminates air pockets and ensures that the water flows evenly through the grounds during extraction. Compare these two models in our Philips LatteGo 5400 vs 4300 review
Without proper tamping, your espresso can suffer from uneven extraction, leading to undesirable flavors:
- Under-extraction occurs when water flows too quickly through the coffee, often because of air pockets or uneven tamping. This results in a sour, weak shot.
- Over-extraction, on the other hand, happens when the puck is tamped too tightly or unevenly, causing the water to take too long to pass through, which extracts too many bitter compounds.
When tamped correctly, the water flows evenly through the grounds, extracting a balanced and flavorful shot of espresso. The more consistent you are with your tamping, the better your espresso will taste. Discover the differences between these machines in our Philips 3200 vs 4300 vs 5400 review
How Much Pressure Should You Apply When Tamping?
The amount of pressure you apply when tamping has been the subject of much debate in the espresso community. A common recommendation is to apply about 30 pounds of pressure. But is that the golden rule for perfect espresso? Not necessarily. Learn how these two models compare in our Philips 3200 vs 4300 review
While it’s helpful to have a general guideline, the key to tamping is consistency, not exact pounds of pressure. Here’s what you need to know:
- Firm Pressure, Not Overbearing Pressure: When tamping, apply a firm, steady pressure until you feel resistance. The moment you feel the coffee puck become solid, stop pressing. Going beyond that point won’t improve the extraction and could make it more difficult for water to flow through evenly, resulting in bitterness.
- Focus on Consistency: The real goal is consistency. It’s less about a precise number of pounds and more about applying the same amount of pressure each time. Consistent tamping helps to achieve an even puck every time you brew.
In short, you don’t need to focus on hitting exactly 30 pounds of pressure. Instead, work on applying enough force to create a solid puck without overdoing it. Uncover the key distinctions in our Philips 3200 vs 5400 review
Steps for Perfect Tamping
To achieve the perfect tamp, there are a few essential steps to follow. Each step is important in ensuring that the water flows evenly through your coffee grounds, resulting in a balanced espresso shot.
1. Distribute the Coffee Grounds Evenly
Before you even think about tamping, make sure the coffee grounds are evenly distributed in the portafilter. If the grounds are uneven, tamping will be uneven, leading to inconsistent extraction.
A good coffee distribution tool, such as the MATOW Coffee Distributor, is a great investment for this purpose. This tool helps evenly spread the grounds and level the bed before tamping, ensuring that water flows evenly through the entire puck.
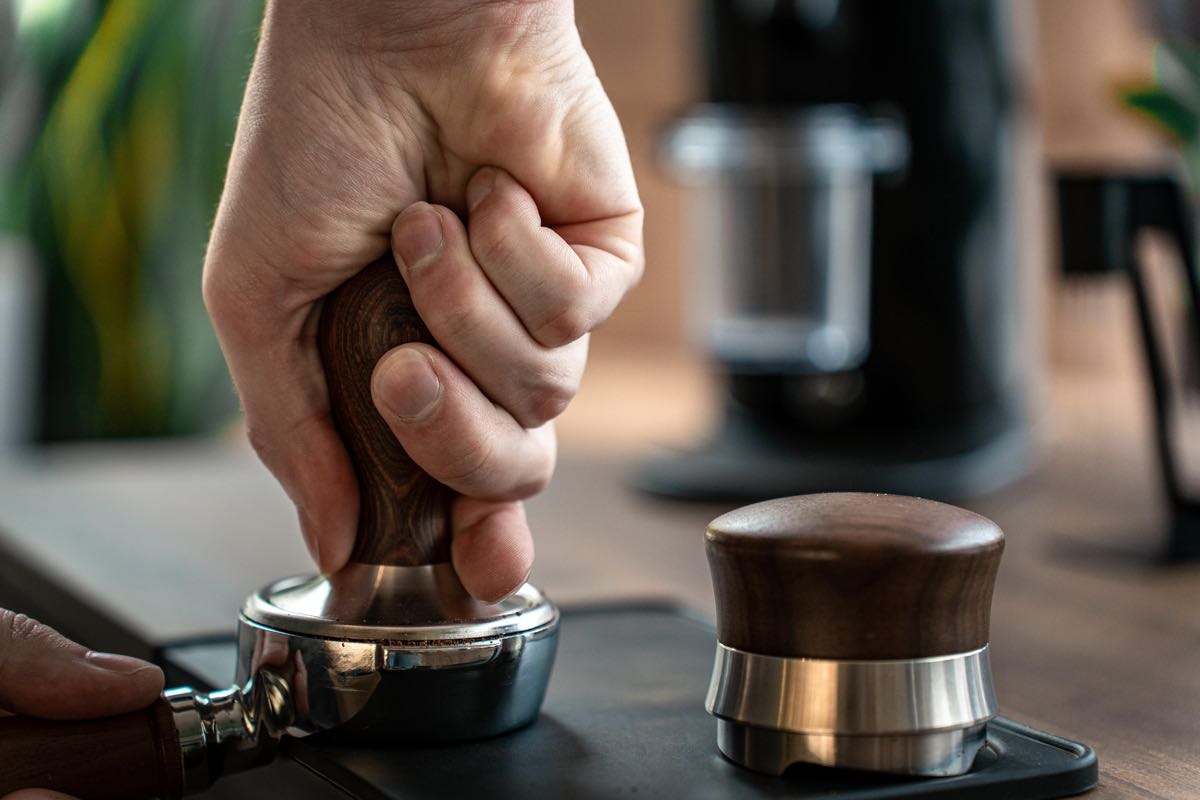
2. Hold the Tamper Correctly
The way you hold the tamper matters. To ensure even pressure, hold the tamper with your wrist straight and your elbow at a 90-degree angle. This position helps you maintain control and apply consistent pressure without straining your wrist or arm.
3. Apply Firm, Steady Pressure
Place the tamper onto the coffee grounds and apply steady, firm pressure. You should press down until the grounds resist and you feel a solid, compact puck. This is known as “tamping until resistance.” The key is to stop once you feel this resistance—any further pressure is unnecessary and can lead to over-tamping.
4. Ensure the Tamper is Level
Make sure the tamper is level as you press down. Tamping at an angle can lead to uneven compression, which causes channeling during extraction. This uneven flow of water results in weak or bitter espresso. Always tamp with a level tamper to maintain uniformity.
5. Use a Tamping Mat
To protect your countertop and create a stable tamping surface, it’s a good idea to use a tamping mat. The Apexstone Coffee Tamper Mat is a popular option among home baristas. It provides a non-slip surface that ensures your tamping is consistent every time.
Common Tamping Mistakes to Avoid
Even experienced baristas can make mistakes when tamping. Here are some of the most common errors to avoid:
1. Uneven Tamping
Failing to tamp evenly is one of the biggest mistakes home espresso makers make. If your tamper is not level, the coffee grounds will be compressed unevenly, causing water to flow through the puck in an irregular manner. This can lead to uneven extraction and poor espresso flavor. Always ensure your tamper is level to avoid this issue.
2. Over-Tamping
While tamping with enough pressure is important, tamping too hard can be counterproductive. Over-tamping compresses the grounds so tightly that water has difficulty flowing through, leading to over-extraction. You don’t need to put all your strength into it—just firm, even pressure will do.
3. Ignoring Ground Distribution
One of the biggest mistakes you can make is neglecting to distribute the grounds properly before tamping. Uneven grounds will lead to uneven tamping, and that’s the root of many extraction problems. A distribution tool, like the Espresso WDT Tool, can help you break up clumps and distribute the grounds evenly, ensuring a smooth and even tamp.
Tools to Enhance Tamping Consistency
Investing in the right tools can significantly improve your espresso quality. If you're serious about mastering tamping at home, here are a few must-have tools to consider:
1. Calibrated Tamper
A calibrated tamper, like the LuxHaus Calibrated Tamper, is a great tool for beginners and experienced baristas alike. It provides a tactile indication when you've reached the optimal tamp pressure (typically 30 pounds). This helps ensure consistency in tamping pressure, so you don’t have to guess whether you’re pressing hard enough or too much.
2. Coffee Distributor
The MATOW Coffee Distributor, a highly-rated coffee distribution tool, helps ensure the grounds are evenly spread across the portafilter before tamping. This tool is especially useful for reducing clumping and ensuring that the coffee bed is level, which is essential for an even extraction.
3. Tamping Station or Mat
A tamping mat, such as the Rattleware Tamping Mat, provides a sturdy, stable surface for tamping. It prevents the portafilter from slipping and protects your countertop from potential damage. Some mats also include built-in measurements for tamper alignment, which helps you keep your tamp level.
Practice Makes Perfect
Like any skill, tamping improves with practice. Don’t be discouraged if your early attempts don’t produce perfect shots. Over time, you’ll develop muscle memory and learn the subtle nuances of tamping.
Here’s how to refine your technique:
- Practice with an empty portafilter: Before you start tamping on real grounds, practice with an empty portafilter to get a feel for the proper pressure and level.
- Pull test shots: Brew test shots with varying tamping pressures and observe how the extraction changes. This will help you understand the relationship between tamping pressure and flavor.
- Take notes: Document your results and refine your process over time. As you learn what works best for your equipment and coffee beans, you’ll develop a consistent method that yields the best results.
Experimenting with Tamping Pressure
Once you’ve got the basics down, feel free to experiment with tamping pressure. Different beans and roast profiles may require slight adjustments in pressure:
- Light roasts: These beans often benefit from a slightly firmer tamp, which helps extract their more delicate flavors.
- Dark roasts: For darker roasts, you may want to tamp a little more lightly to avoid over-extracting the bitter compounds that can arise with longer extraction times.
Don’t be afraid to experiment and fine-tune your technique. After all, making espresso at home allows you to control every variable and find the method that suits your personal taste.
The Role of Other Factors in Espresso Making
Tamping is an important part of the espresso process, but it’s not the only factor that determines the quality of your shot. Other aspects of espresso making that you should pay attention to include:
- Grind size: An even, consistent grind is essential for a good espresso. A high-quality grinder, such as the Baratza Encore, will give you precise and uniform grinds.
- Freshness of beans: Use fresh beans roasted within the last two weeks for the best flavor.
- Water temperature: Ensure your water is heated to the right temperature (around 190-200°F) for optimal extraction.
- Dosing: Use a precise espresso scale, like the TIMEMORE Coffee Scale, to measure your coffee dose and ensure accuracy.
Conclusion: Consistency is Key
The secret to great espresso is consistency. When it comes to tamping, the key is applying even pressure every time. While applying 30 pounds of pressure is a common guideline, consistency is the real game-changer. Invest in good tools, focus on your technique, and practice often, and you’ll soon be pulling espresso shots that rival your favorite café.
Remember, it’s not about getting the perfect shot every time—it's about learning, experimenting, and refining your process. With patience and persistence, you'll be able to craft rich, balanced espresso right at home.
FAQ: Tamping and Espresso Making
1. How hard should I tamp when making espresso?
While there is no exact rule, a general guideline is to apply about 30 pounds of pressure when tamping. However, the key is consistency. The goal is to apply enough pressure to compress the grounds evenly but not so much that you over-compress the puck. A firm but not excessive tamp will give you the best results. Once you feel resistance, stop pressing—any additional pressure won’t improve the extraction.
2. Can I tamp too hard?
Yes, tamping too hard can negatively affect your espresso. Over-tamping can compress the coffee grounds too tightly, making it difficult for water to flow through evenly. This can lead to over-extraction and a bitter, undesirable taste. Focus on applying firm but consistent pressure without going overboard.
3. What happens if I don’t tamp evenly?
Uneven tamping leads to an uneven coffee puck, which can result in channeling—where water flows unevenly through the puck, causing some areas to be over-extracted and others under-extracted. This results in a muddled and imbalanced shot of espresso. It’s important to ensure that the tamper is level and that the pressure is applied evenly.
4. Do I need a calibrated tamper?
A calibrated tamper is not strictly necessary, but it can be a useful tool, especially for beginners. A calibrated tamper, like the LuxHaus Calibrated Tamper, ensures you apply the same amount of pressure every time. This helps you maintain consistency in your tamping technique and avoid variations that can impact your espresso’s flavor.
5. Should I use a tamping mat?
Using a tamping mat is highly recommended, especially for beginners. A tamping mat, such as the Rattleware Tamping Mat, provides a stable, non-slip surface to tamp on. It also protects your countertops from damage and keeps your portafilter from sliding around while you work. It’s an inexpensive investment that helps you get better consistency and more controlled tamping.
6. Can I use a distribution tool instead of a tamper?
No, a distribution tool and a tamper serve different purposes. A distribution tool like the MATOW Coffee Distributor helps spread the coffee grounds evenly across the portafilter, ensuring they’re level before tamping. The tamper is then used to compress the grounds evenly into a solid puck. While a distribution tool is essential for consistent results, you still need a tamper to complete the process.
7. Does the roast level affect how I tamp?
Yes, the roast level can impact the amount of tamping pressure needed. Lighter roasts often benefit from a slightly firmer tamp to ensure proper extraction of their more delicate flavors. Darker roasts, on the other hand, can become over-extracted more easily, so you may want to use a lighter tamp to avoid bitterness.
8. Is tamping more important than the grind size?
Tamping and grind size are both important factors that work together. While tamping ensures uniform water flow through the coffee, grind size directly influences how the water interacts with the coffee grounds. If your grind is too fine, it can lead to over-extraction, even with the perfect tamp. Conversely, a too-coarse grind can result in under-extraction, even with perfect tamping. It’s crucial to get both factors right for optimal espresso.
9. How can I avoid channeling?
Channeling occurs when water flows unevenly through the coffee puck, often due to uneven tamping or distribution. To avoid this, make sure to:
- Use a coffee distribution tool to level the grounds before tamping.
- Tamp evenly and apply firm, consistent pressure with a level tamper.
- Ensure your grind size is appropriate and uniform.
10. How do I know if I’ve tamped correctly?
A properly tamped puck will feel firm and solid under pressure, but not excessively compacted. If you’ve tamped correctly, the espresso shot should extract evenly and produce a balanced flavor. If your espresso tastes sour or weak, it could be a sign that your tamping was too light or uneven. If it’s bitter or harsh, it may be due to over-tamping or incorrect grind size.
11. Do I need to clean my tamper and distribution tools?
Yes! Keeping your tamping and distribution tools clean is important for both hygiene and performance. Coffee oils can build up over time, which can affect the consistency of your tamping and alter the taste of your espresso. Simply wipe your tamper and distribution tools with a soft, damp cloth after each use. Make sure they’re completely dry before your next use.
12. Can I improve my tamping technique over time?
Absolutely! Tamping is a skill that improves with practice. Over time, you'll develop muscle memory for how much pressure to apply and how to tamp evenly. It's helpful to experiment with different pressures and observe how they affect the flavor of your espresso. Tracking your results and making small adjustments will allow you to consistently brew better shots as you become more comfortable with the process.
13. What is the best tamping tool for beginners?
For beginners, the LuxHaus Calibrated Tamper is a great option. It provides tactile feedback to ensure you're applying consistent pressure, making it easier to get the right tamp each time. Additionally, using a MATOW Coffee Distributor for even distribution and a Rattleware Tamping Mat for stability can help you get started on the right foot.
Happy brewing!